Duration: (1:7) ?Subscribe5835 2025-02-07T21:33:04+00:00
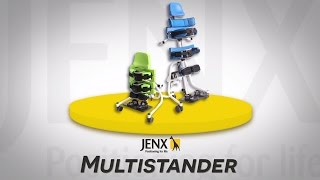
Jenx Multistander Size 1 \u0026 2: Introduction, Base Items, Laterals \u0026 Hip Blocks
(1:17)
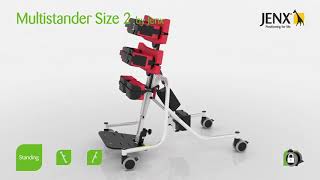
Jenx Multistander Size 2
(7:45)
Jenx Multistander - Height adjustment
(1:7)
Jenx Multistander - Support board height adjustment
(58)
Jenx Multistander - Tilt-in-space adjustment
(46)
Jenx Multistander Size 2: Multigrip Body Support
(1:52)
Jenx Multistander - Headrest fitting \u0026 adjustment
(3:11)
Jenx Multistander - Product Demonstration: Jiraffe Knowledge \u0026 Know-How
(53:9)
Jenx Multistander - Support pad adjustment (Hip Supports)
(1:36)
Jenx Multistander - Locking the castors
(44)
Jenx Multistander - Tray fitting \u0026 adjustment (Supine)
(1:3)
Jenx Multistander - Tray fitting \u0026 adjustment (Prone)
(1:45)
Jenx Multistander - Thoracic support pad adjustment
Jenx Multistander Size 1 \u0026 2: Sandals, Installation \u0026 Adjustment
(41)
Jenx Multistander Size 1 \u0026 2: Differences Between Size 1 \u0026 2
Jenx Multistander - Knee block adjustment (Abduction footplate)
(1:38)
Jenx Multistander 1 - 3 in 1 positioning in both neutral or abducted standing
(4:36)
Jenx Multistander - Angle adjustment (Abduction footplate)
(51)
Jenx Multistander Size 1 \u0026 2: Knee \u0026 Leg Bracket Adjustment
(57)
Jenx Multistander - Fitting the tray bracket
(1:9)